 PL
PL ENG
ENG RUS
RUS UA
UA
Raspberry Pi - introduction
A great deal has already been written about the Raspberry Pi on the internet. I decided to add something of my own as well. My adventure with this little computer began when one of the companies distributing it announced a promotion and for a week the B Rev.2 version could be bought at a reduced price. I first installed XBMC on the SD card as a test, but in the end I settled on Raspbian, and all the descriptions here refer to that system. In my experiments I used the GPIO, I2C and UART interfaces.
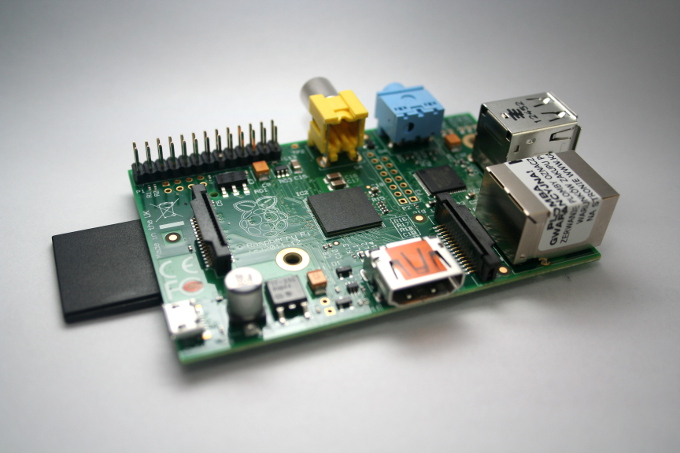
Fig. The Raspberry Pi V2 computer.
The Raspberry Pi works very well at the prototype stage, but in a final product a dedicated microprocessor circuit is usually cheaper and more dependable. If you are looking for someone to build such a device, have a look at our custom electronics design offer.
Copyright ©2026 systemypomiarowe.pl.