 PL
PL ENG
ENG RUS
RUS UA
UA


Raspberry Pi - remote desktop
It often happens that we are used to working on a laptop but would like to be able to work in the graphical environment of the Raspberry. In this article we will therefore set up a remote desktop (VNC). First we have to install the necessary software:
sudo apt-get update - as always, we begin by updating the database of available packages.
sudo apt-get install tightvncserver - we install tightvncserver.
Next we start the VNC server by hand. We will be asked for a password, which will then be required to connect to the RPi.
pi@raspberrypi
~ $ tightvncserver
You will require a password to access your desktops.
Password:
[our_main_password]
Verify: [our_main_password]
Would you like to enter a view-only password (y/n)?
y
Password: [our_view_only_password]
Verify: [our_view_only_password]
New 'X' desktop is
raspberrypi:1
Creating default startup script /home/pi/.vnc/xstartup
Starting applications specified in
/home/pi/.vnc/xstartup
Log file is /home/pi/.vnc/raspberrypi:1.log
Then we create a file in the /etc/init.d directory responsible for starting our server automatically. We do that by creating a new file:
sudo nano /etc/init.d/tightvncserver
and entering the following content:
#!/bin/sh
### BEGIN INIT INFO
# Provides: tightvncserver
# Required-Start: $local_fs
# Required-Stop:
$local_fs
# Default-Start: 2 3 4 5
# Default-Stop: 0 1 6
# Short-Description: Start/stop
tightvncserver
### END INIT
INFO
### Customize this entry
# Set the USER variable to the name of the user to start tightvncserver
under
export USER='pi'
### End customization required
eval cd ~$USER
case "$1" in
start)
su $USER -c '/usr/bin/tightvncserver :1'
echo "Starting TightVNC server for $USER "
;;
stop)
pkill Xtightvnc
echo "Tightvncserver stopped"
;;
*)
echo "Usage: /etc/init.d/tightvncserver {start|stop}"
exit 1
;;
esac
exit 0
If our user name is other than 'pi', we change export USER='pi' to export USER='[user_name]'
The file then has to be given the right permissions:
sudo chmod 755 /etc/init.d/tightvncserver
Now we add the VNC server to the processes started automatically when the system boots:
sudo update-rc.d tightvncserver defaults
We can now open the remote desktop on our favourite computer. To do that we start TightVNC Viewer.
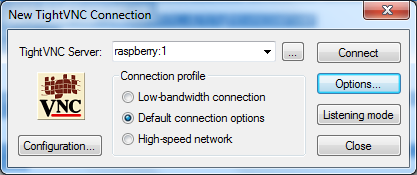
Fig. The TightVNC Viewer window.
As the server we give the address of our Raspberry Pi. It can be an address such as 192.168.XXX.XXX or, as in my case, the entry "raspberry". After the colon we give the display number, in this case 1.
It is also possible to start a particular program remotely, such as an editor, a web browser or a terminal. This can be done with the Xming program. Nothing has to be installed on the Raspberry side; remote access over ssh simply has to be enabled.
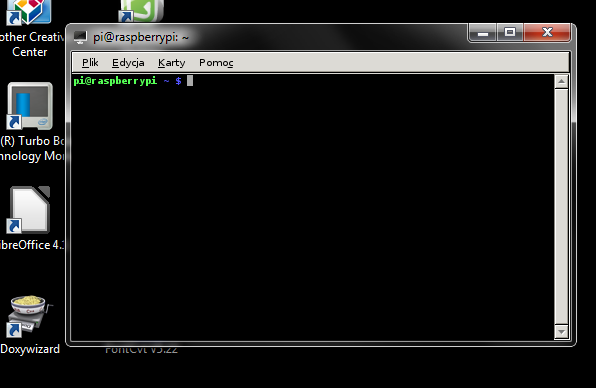
Fig. A terminal started with Xming against a Windows window.
Example content of the file starting the terminal:
<?xml
version="1.0"?>
<XLaunch xmlns="http://www.straightrunning.com/XmingNotes"
xmlns:xsi="http://www.w3.org/2001/XMLSchema-instance"
xsi:schemaLocation="http://www.straightrunning.com/XmingNotes XLaunch.xsd" WindowMode="MultiWindow"
ClientMode="StartProgram" Program="lxterminal" ClientStart="PuTTY" RemoteHost="192.168.XXX.XXX"
RemoteUser="pi" Display="0" Clipboard="true"/>
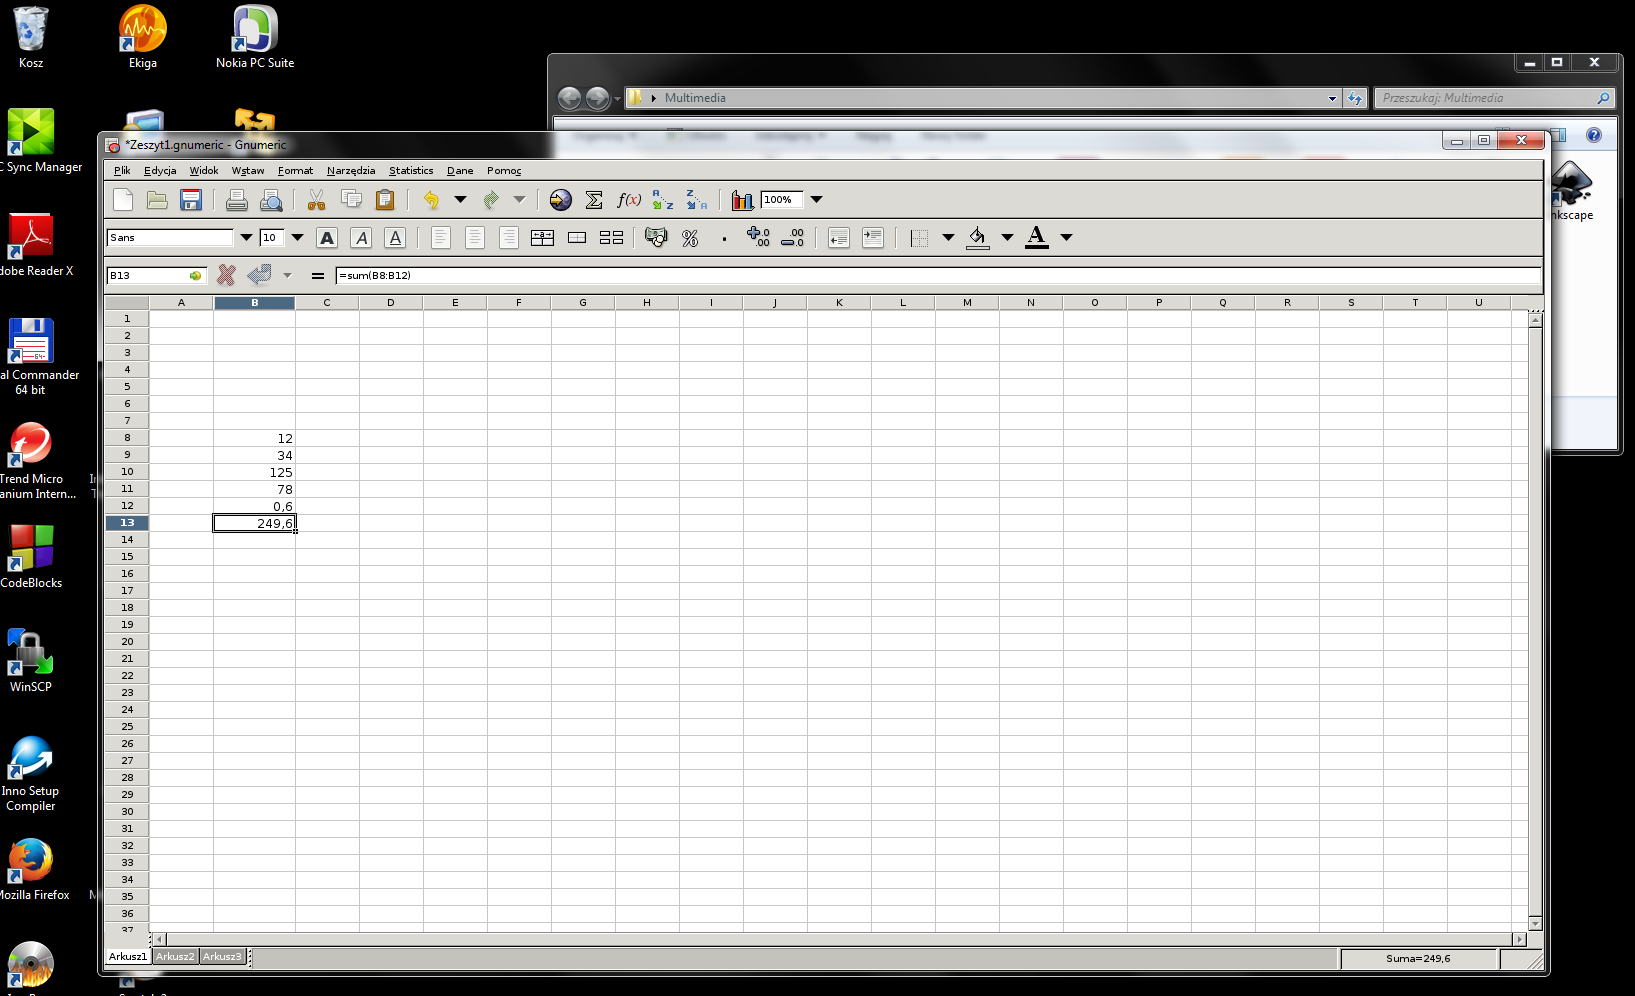
Fig. Gnumeric started with Xming against a Windows window.
Remote access is convenient when commissioning devices in the field. If you are planning an unattended measurement system, we will design its electronics and software for you.
Copyright ©2026 systemypomiarowe.pl.