 PL
PL ENG
ENG RUS
RUS UA
UA

Raspberry Pi - getting started
Getting started is very simple and has been described in a great many places. One can of course buy a ready SD card with the system installed and just slide it into the slot, but preparing it yourself is no trouble at all. To begin, besides the Raspberry Pi board itself, you need an SD card, a 5 V power supply, an RJ45 cable for the internet connection and an HDMI cable. Headphones or speakers and an audio amplifier may come in handy. A keyboard and a mouse connected over USB are useful too. Special keyboards with an integrated touchpad can also be bought.
The SD card has to be prepared in a particular way. We need an image of the operating system, for example Raspbian (http://downloads.raspberrypi.org/images/raspbian/2013-02-09-wheezy-raspbian/2013-02-09-wheezy-raspbian.zip), a program that writes the image to the SD card, Win32DiskImager (http://sourceforge.net/projects/win32diskimager/), and of course a computer. I used a computer running Windows 7 Home and the descriptions that follow refer to that system. There is nothing to stop you from using a computer with Linux instead. Download and unpack the Raspbian image. Put the SD card into the card reader of the computer and start Win32DiskImager.
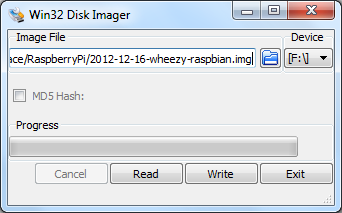
Fig. The Win32DiskImager window.
Point the program at the SD card the image is to be written to (CAUTION - the program erases all data on that card, so be careful what you select!). Then point the program at the image file, for example 2013-02-09-wheezy-raspbian.img. After pressing the "Write" button and confirming the warning about erasing the data, the program writes the image to the card. When writing is finished the message "Write Successful" appears - it may take a while - and we unmount the card with safe removal and take it out of the reader. Then we put it into the slot on the Raspberry Pi (RPi) board. The computer must of course be switched off at that time. We connect the HDMI cable to a monitor or a television, plus the keyboard and the mouse. Finally we connect the power supply to the microUSB socket. The configuration screen shown in the illustration below appears on the monitor. Occasionally there may be problems with the SD card being incompatible with our device. I installed on two 4 GB cards bought in a supermarket, so hardly the newest ones, and had no trouble.
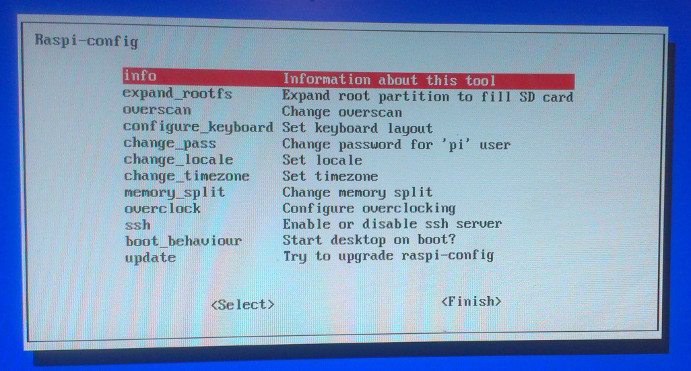
Fig. The main raspi-config screen.
We move around the menu with the up and down arrows and the tab key. It is worth entering some of the options and making the appropriate changes. I suggest going into expand_rootfs, which extends the partition over the whole SD card.
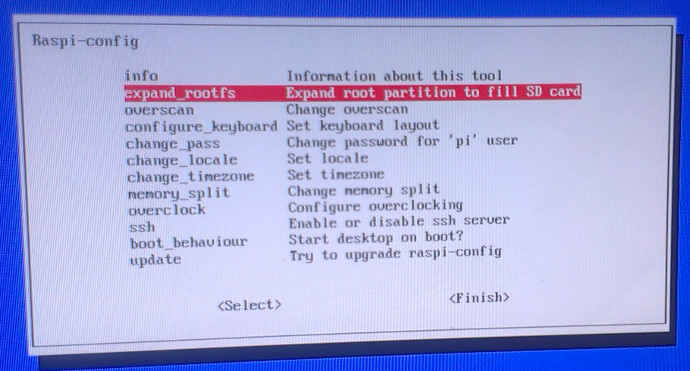
Fig. Entering the partition expansion option.
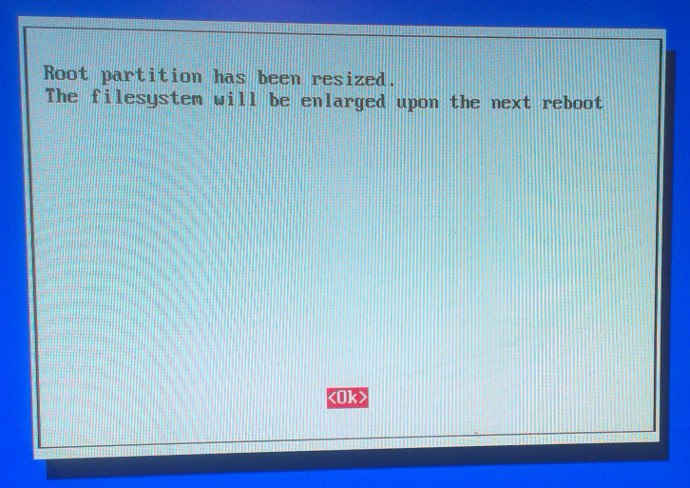
Fig. The partition was expanded successfully.
The change_locale option lets us change the language and the encoding. The change_timezone entry lets us set the time zone. First the region has to be chosen. I chose Europe.
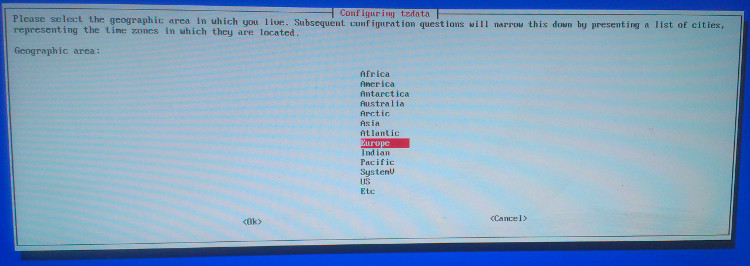
Fig. Choosing the region of the world.
Then the capital of the country or a nearby city has to be selected.
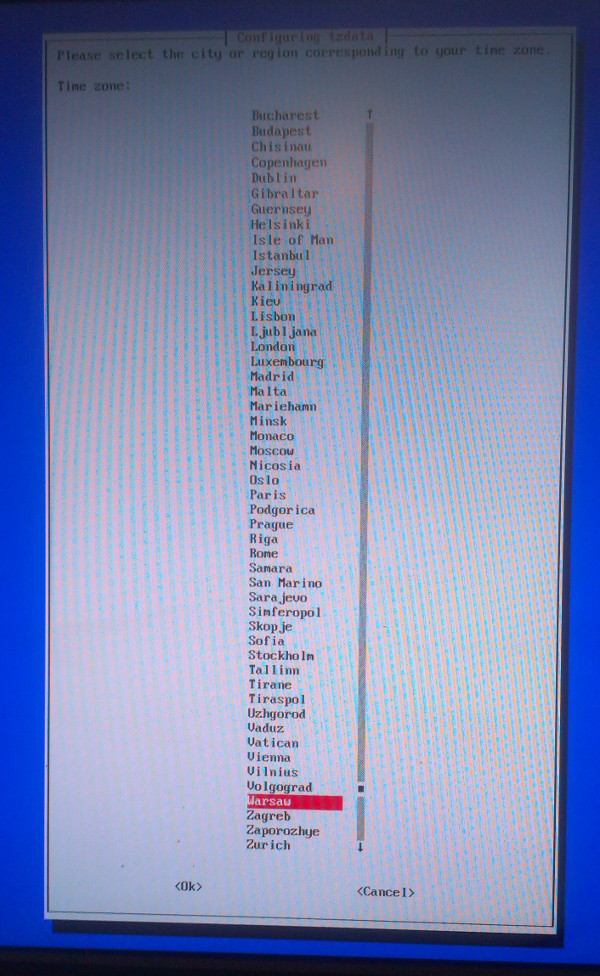
Fig. Choosing the city.
I recommend going into the ssh option, which enables the ssh server to start automatically so that we can work on the Raspberry Pi remotely.
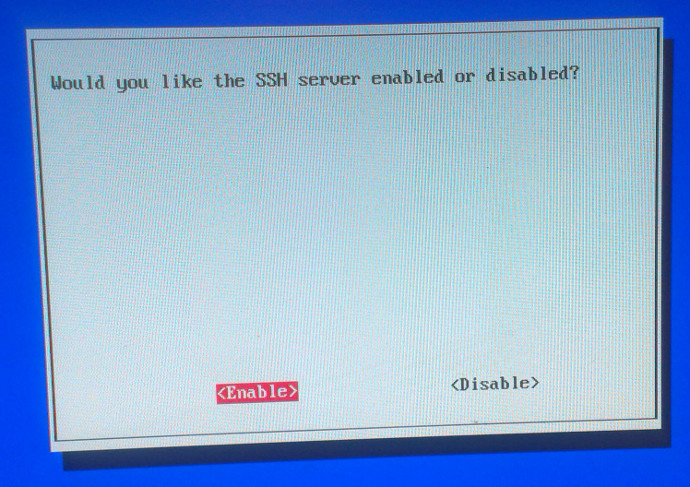
Fig. Choosing the ssh option.
If we make no changes at this point, we can always do it later by running the command sudo raspi-config.
Once the configuration is done we can use the Tab key to move to the Finish field and confirm.
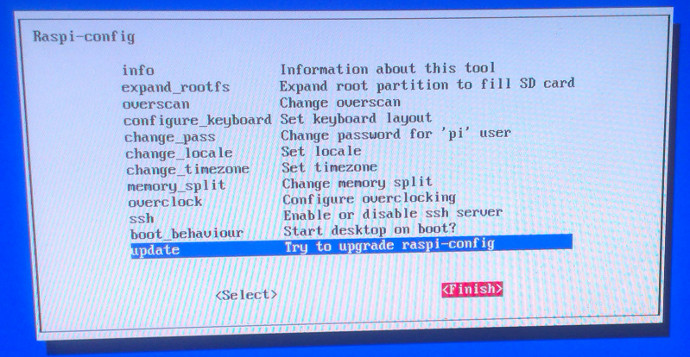
Fig. The end of the configuration options.
Then the Raspberry Pi has to be restarted and we should be able to enjoy a device we configured ourselves.
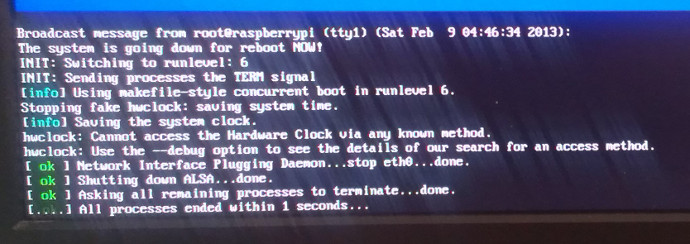
Fig. Restarting the Raspberry Pi.
After a moment a screen with a login prompt should appear. The standard user name is pi and the password is raspberry, unless we changed it in raspi-config.
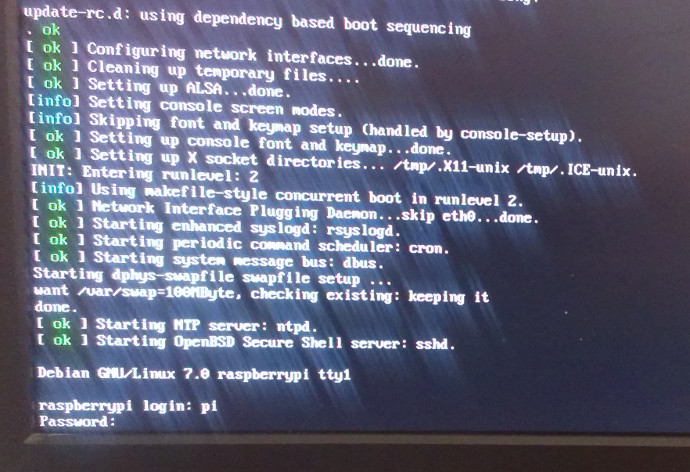
Fig. The login screen.
After logging in we should configure the network. So far we have not connected the network cable to the computer. Before doing so it is worth finding out the MAC address of the network interface and configuring the router. It is a good idea to assign a fixed IP address to the Raspberry Pi in the router we use. That makes logging into the Raspberry Pi easier later on. We issue the command: sudo ifconfig -a. We get something like this:
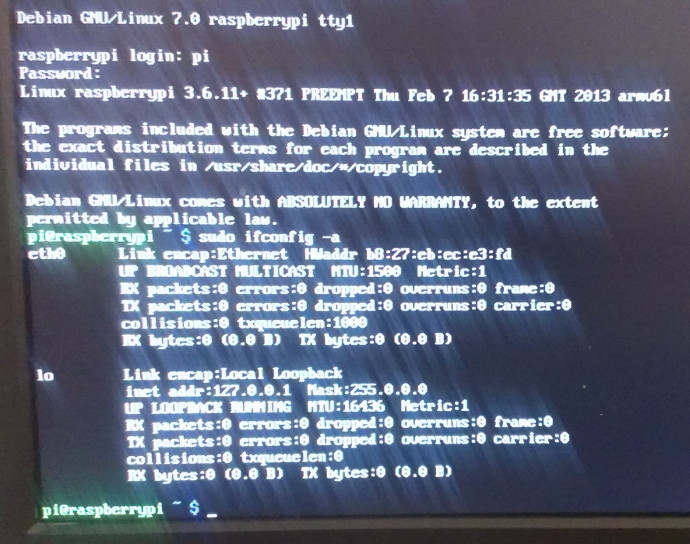
Fig. The ifconfig command.
The MAC address is the HWaddr entry in the printout above. Next we log into the router and enter the MAC address we read in the MAC field, and in the IP address field the preferred address from the pool served by the router in its current configuration. A name such as raspberry, or any other, can be attached to the chosen IP address. In the popular ZyXEL router these settings are found under Network -> LAN -> Client_List, where IP_Address and MAC_Address have to be entered. Doing this later allows, for example, port forwarding so that services running on the RPi are reachable from outside the network, and makes logging into the RPi easy.
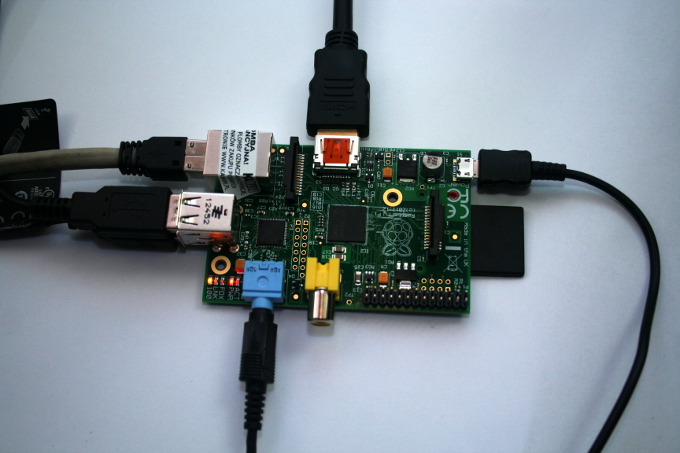
Fig. The connected Raspberry Pi.
To log into the RPi remotely once the network cable is connected, the free PuTTY software can be used.
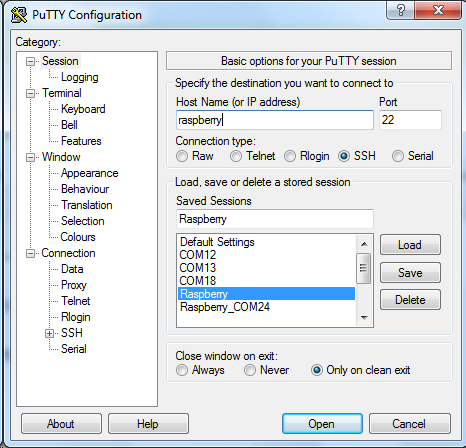
Fig. Configuring PuTTY.
Midnight Commander (mc) may also prove useful. We install it with the commands:
sudo apt-get update
sudo apt-get install mc
If after the first start-up you want to go further and build a real measurement device on this basis, write to us - we design and build electronics to order.
Copyright ©2026 systemypomiarowe.pl.